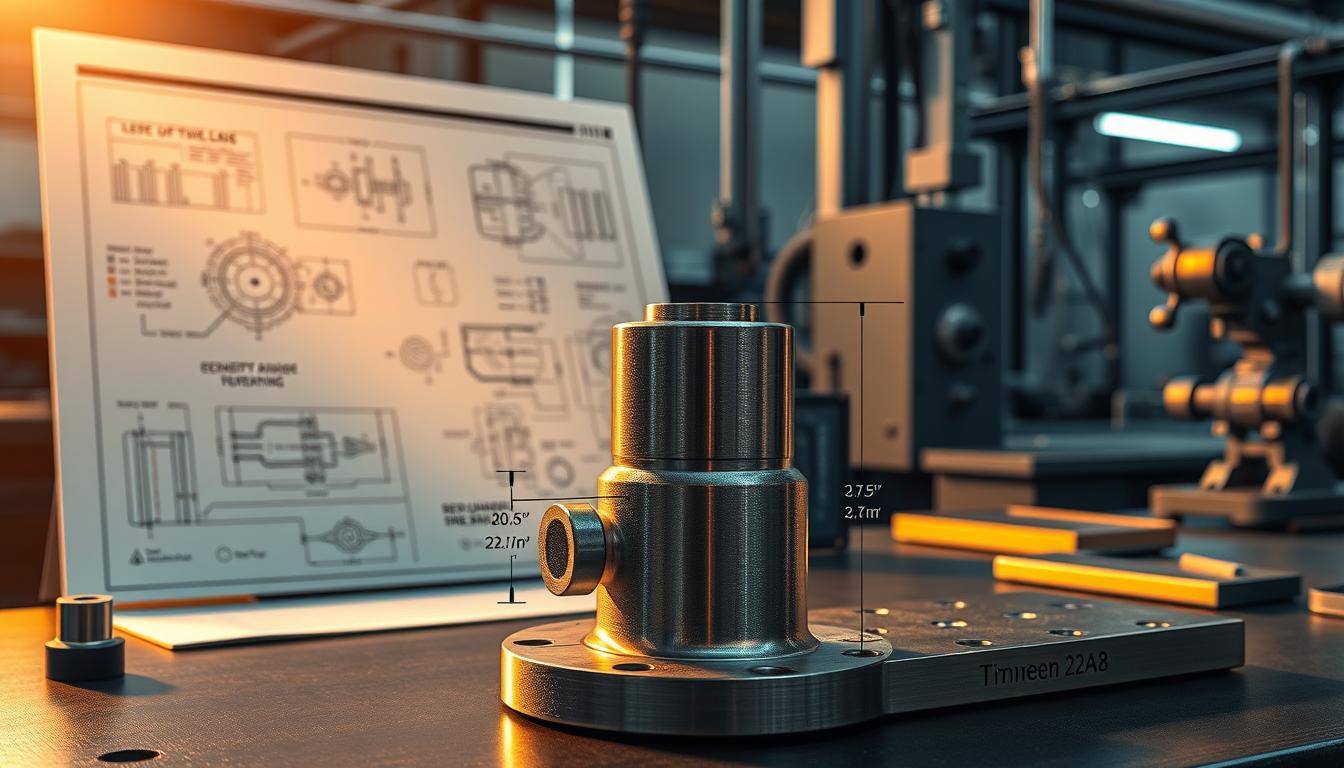
In the world of engineering and manufacturing, dimensioning and tolerancing are key. They help ensure parts fit together right, cutting down on mistakes and boosting efficiency. By following standard practices, I can clearly tell manufacturers what I need, avoiding problems and saving resources.
The American Society of Mechanical Engineers (ASME) and the International Organization for Standardization (ISO) stress their value. They help everyone in the industry speak the same language.
Understanding the Basics of Dimensioning:
Exploring engineering, I learned that dimensioning is key. It’s a way to share exact details about an object’s size and shape through drawings. There are different types of dimensions, like linear, angular, and radial, each with its own role.
Linear dimensions show an object’s length, width, or height. They’re simple but vital for making things. Angular dimensions tell us the angles between parts, ensuring they fit right. Radial dimensions show the radius of curves, important for round shapes.
Knowing measurement standards is critical for clear communication in engineering. Drawings usually follow ANSI rules, so everyone understands dimensions the same way. Looking at examples helps me see how these rules work in practice.
Dimensioning and Tolerancing:
Exploring dimensioning techniques and tolerancing methods is key. Tolerancing sets limits for how much dimensions can vary. This makes sure parts fit right, cutting down on mistakes in making them.
Geometric Dimensioning and Tolerancing, or GD&T, is a big help. It lets engineers share their design plans clearly. By following ASME Y14.5, I can use these methods accurately. This makes the making process smoother and the results better.
The Role of Tolerancing in Manufacturing:
Tolerancing is key in manufacturing, affecting part function and performance. I’ve seen how important it is during assembly, where parts fit perfectly. For aerospace, tight tolerances are essential. But, other industries might need looser tolerances.
Choosing the right tolerances boosts manufacturing precision and part durability. A good tolerancing plan helps control quality. It means fewer defects and lower costs. Proper tolerancing in design makes assembly efficient and reliable.
Common Dimensioning Techniques:
In my experience with engineering, different dimensioning techniques are key to clear designs. Chain dimensioning links dimensions in a sequence. It’s simple but can get tricky with many measurements. I use it for simple designs where clarity is essential.
Baseline dimensioning is another effective method. It starts with a reference line, making each measurement clear. I find it great for complex parts or assemblies, reducing errors. It makes my designs more reliable.
Ordinate dimensioning adds precision to engineering drawings. It measures distances from reference points, giving a clear view of the design. This method is perfect for complex shapes where space is tight. It helps create designs that are easy for manufacturers to follow.
Knowing these techniques improves my drawings and follows effective dimensioning practices. Using the right engineering strategies is key for project success. By mastering these, my team and I can make designs that look good and work well.
Best Practices for Dimensioning and Tolerancing:
Following best practices in dimensioning and tolerancing makes my work much better. Using clear and simple language helps avoid mistakes. It makes sure everyone understands the design well.
Putting dimensions in the right places is key. It stops confusion when making products. This makes the whole process smoother.
Being consistent in design documents is very important. It helps everyone understand the design better. It also makes reviews easier.
I often look at standards from ASME and ISO. They help me make sure my work is up to par. These standards are key to doing dimensioning and tolerancing right.
Using proven guidelines helps avoid mistakes. It makes producing quality products more efficient. My projects are more accurate, making the whole process better.
Software and Tools for Dimensioning and Tolerancing:
Choosing the right software is key for effective dimensioning and tolerancing. Tools like AutoCAD, SolidWorks, and CATIA are essential. They help me work more efficiently by allowing precise measurements and clear tolerance visualization.
Each tool has its own strengths. AutoCAD is great for both 2D and 3D designs. SolidWorks shines in simulation and detail, adding to my accuracy. CATIA is perfect for complex assemblies, which is vital in aerospace and automotive.
Using these tools makes my design process better and more efficient. It ensures my work meets all the necessary standards. With the right software, I can deliver top-notch engineering solutions that meet strict tolerancing needs.
